Cheung Lab, Day 8

7162

Analyzing Gel results

Today started off with a lab meeting, so I was able to head in late after cleaning my house and starting to get ready for my trip to Seattle.  I started in the laboratory by reviewing the procedures for running gels (gel electrophoresis).  The lab meeting ran late, so I was able to review the other procedures and check on the GUS assay that we set up yesterday.  I can see that the rk10p:GUS now has blue roots as well, meaning that the gene is being expressed there.

When the lab meeting ended, I started work on running gels based on the work that we did yesterday.  The first step was preparing the gels.  We used 1x TBA to set up our gels, heating the medium in the microwave and then pouring it into the gel containers to cool.  We used plastic inserts to make sure that our gels had the appropriate wells.7164
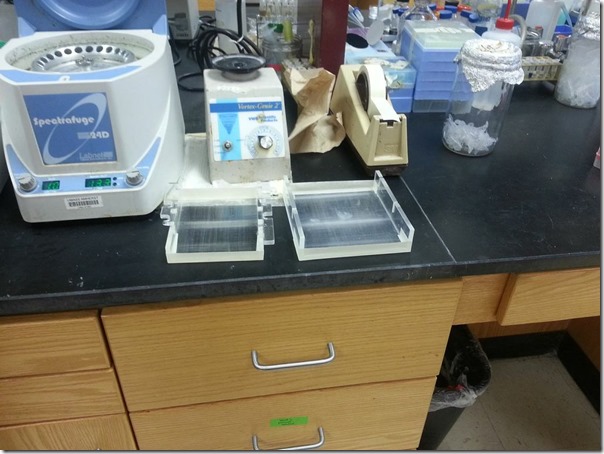
Preparing gels for gel electrophoresis

While waiting for the gels to cool, we used dye to stain the DNA in each of the containers that had come from the PCR process.  This is essential, because you want the DNA to show up so that you can view it in your gel.

We then used a micropippette to drop a very small amount of DNA into each of the wells in the gel.  This will allow us to see which of the DNA samples is larger (moves slower through gel, will be nearest to well) and smaller (moves quicker through gel, will be further from well).  DNA is negatively charged, so you place the negative end closest to the DNA wells, and the positive end away from the wells.  It is crucial to keep all of the containers organized- so that you know which well corresponds with each sample.7161
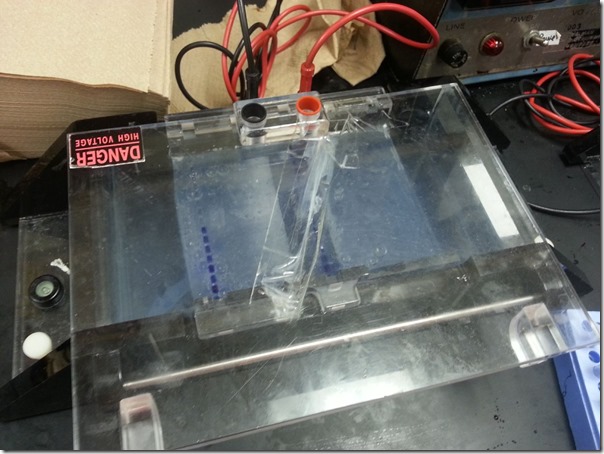
Running a gel- notice wells (blue), negative lead (black) and positive lead (red)

While running the gels, we started preparing new samples for PCR.  We first made new labels and labeled all of the plants so that we would know which sample came from each plant leaf.  We then took these leaves off of the plants using forceps and placed them into different eppendorf tubes.

7163

Labeled plants, ready for leaf extraction

We followed the same procedure for preparing our samples for PCR that we used yesterday- the whole process takes around 3.5 hours from start to useable DNA.  In between preparing our new samples for PCR, we analyzed our earlier gels.

Cheung Lab, Day 7

 7153  

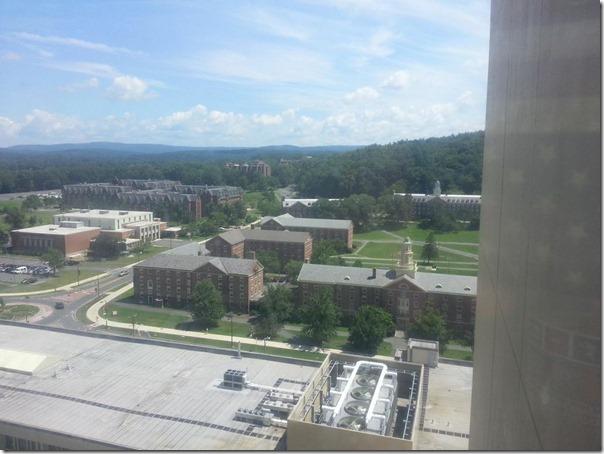
View from 11th floor, Lederle Graduate Research Center

Day 7 of working in Dr. Alice Cheung’s laboratory started with us setting up a GUS assay.  GUS is a gene that we put in to visualize where something is being expressed.  In our case, we were using the plates we set up on 7/2, put in the 4 degree Celsius refrigerator for 2 days, and left in a 22 degree growth chamber for a little over a week. 

7152

GUS assay, different genes (labeled)

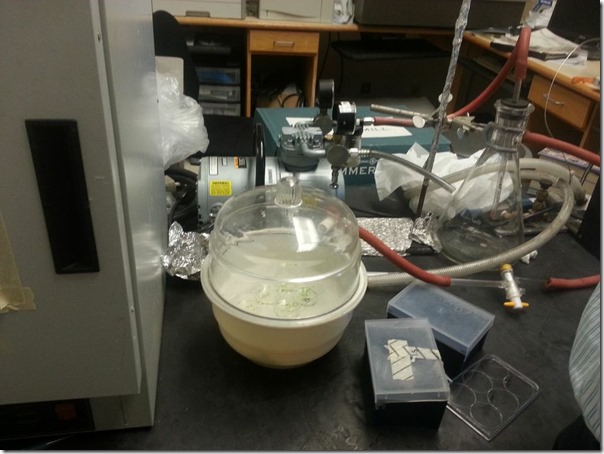
To set up our GUS assay, we had to make a solution of x-glucose.  This will bind where GUS is being expressed, causing a blue color to happen.  The blue will continue to accumulate in the areas where the GUS gene is expressed until the reaction is stopped with ethanol. We started by making the solution, adding it to a Petri container, and vacuuming the air out.  Vacuuming the air out allowed more penetration of the solution containing the x-glucose, because air tends to accumulate on the edges of the plant.7154

Vacuuming out GUS assay for better infiltration

We then started learning the process for PCR- polymerase chain reaction.  PCR is used to amplify a gene that you are trying to study.  In our case, it has to do with the mutant lines of plants we are studying. First, you use a grinder to mash up the leaf and break open some of the cells.  Then, we added some extraction buffer to help extract some of the DNA.  We spun our tubes for 7 minutes, and then transferred the supernatant to a new tube.  We had to take care and not add any of the solids still left, as that would interfere with the results of the PCR.  We then added isopropanol, spun down the solution for 5 minutes, and were left with a supernatant to get rid of.  Our DNA was stuck to the bottom of our solution, so we washed whatever else was in there away with 70% ethanol.

7151

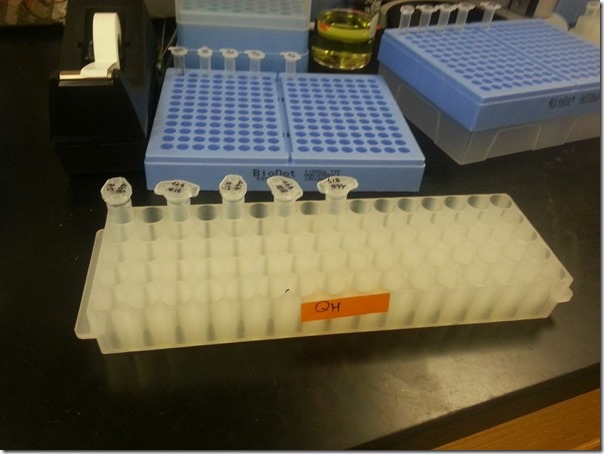
Eppendorf Tubes getting ready for PCR


We had to resuspend our DNA in EDTA, which is a chemical that helps our reaction.  Using the vortex, we resuspended the DNA, and put it in a new microfuge tube.  Finally, after We followed the directions and set up our PCR.  We had to wait 2.5 hours for the reaction to occur.  The PCR machine was full, so we wouldn’t be able to run the gels today.

Next, Norice and I started to think about the upcoming academic year, and how we could incorporate this into our classrooms.  I started to lay out a plan, and create a plants unit that teaches most of this plant anatomy.  It’s a real shame that both the Massachusetts Science and Technology Standards (2006, latest revision), and the Next Generation Science Standards (2013), do not focus enough on plants- the basis for all food on Earth. 

Finally, we were able to check our GUS assay, and see how it would be illuminated.  The roots in our of our samples RK8p:GUS were blue, which was very interesting to see.  We will have to check the rest of the samples tomorrow and see how they turn out.