Cheung Lab, Day 9

IMG_20130717_134819

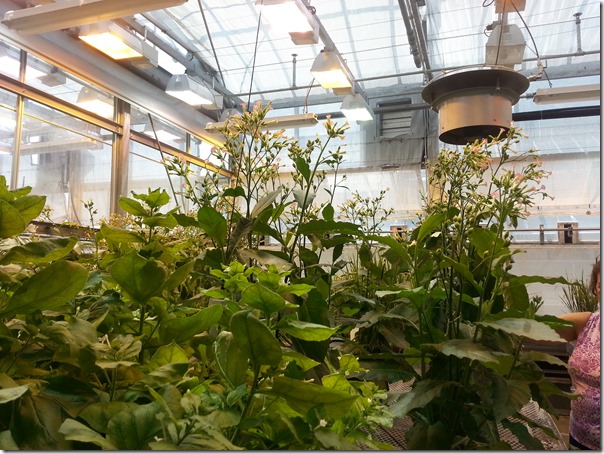
UMass College of Natural Sciences Research Greenhouse

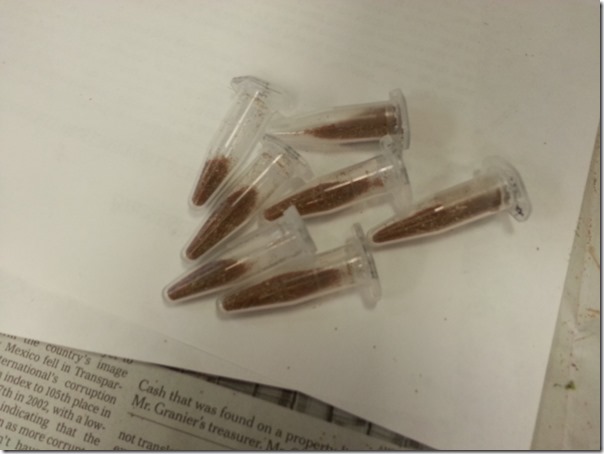
Today started out by visiting the growth room on the 12th floor and selecting plants to collect seeds from.  We were collecting the T0 seeds from both arabidopsis wildtype and the feronia line.  The seed collection process uses newspaper and shaking the seed pods to release the seeds onto the newspaper.  Then you use a sifter, which allows the seeds through but keeps most of the debris from passing through.  In this way, you are able to get as many seeds as possible while minimizing the debris.

IMG_20130717_114301

Collected seeds in eppendorf tubes
One of the most important aspects of seed collection is the potential for contamination.  You must clean up your work bench, because if seeds from a previous line enter your tube for the new line, it can be catastrophic for results, and can cause a lot of confusion in regards to results.
After we collected seeds, Norice came into lab, and we started running a gel.  We used 15 microliters instead of 10, because we were having some slight issues seeing the results earlier in the week.  We left the gel running, and analyzed other gels.  We were able to tell which of the genes were homozygous and which of the genes were heterozygous.  I haven’t read a gel in years, so this was a great review for me.IMG_20130717_130343

Gel print-outs; can you tell which plants are homozygous vs heterozygous?

We then spent time in the greenhouse in the afternoon, collecting pollen from the tobacco plants.  The process was very straightfoward- remove the tobacco flowers with the most pollen on their anthers and lay them in a tray.  I worked collecting the wildtype pollen (wildtype means “normal”) and Norice collected the pollen from the transgenic plants.  We went back to the lab with these flowers, and started to empty the pollen into eppendorf tubes.

  IMG_20130717_135008

Tobacco in research greenhouse

IMG_20130717_141155

Collected tobacco, ready for pollen extraction in the lab.

We then tried to analyze our gel, but there were no bands on the gel.  Something had gone wrong in the PCR process, and we were not sure what it was.  It ended up being time for me to leave, so I’m not sure what could have gone wrong in our PCR.

IMG_20130717_133311

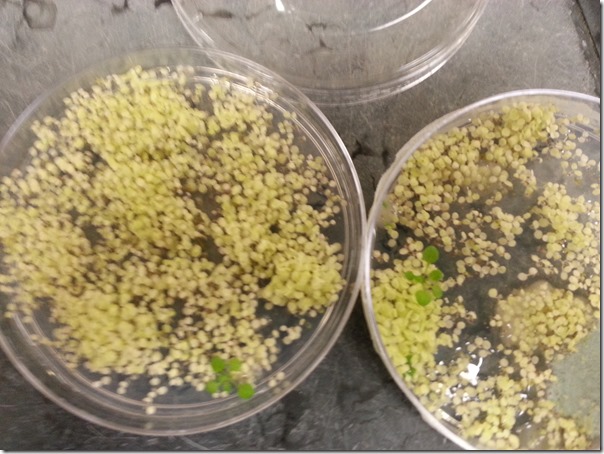
Good example of a selection plate- the green plants are the transformed ones that survived the screening process due to antibiotic resistance.  The medium on these plates has antibiotics, which kills the other plants, which are more yellow in this picture.

Cheung Lab, Day 8

7162

Analyzing Gel results

Today started off with a lab meeting, so I was able to head in late after cleaning my house and starting to get ready for my trip to Seattle.  I started in the laboratory by reviewing the procedures for running gels (gel electrophoresis).  The lab meeting ran late, so I was able to review the other procedures and check on the GUS assay that we set up yesterday.  I can see that the rk10p:GUS now has blue roots as well, meaning that the gene is being expressed there.

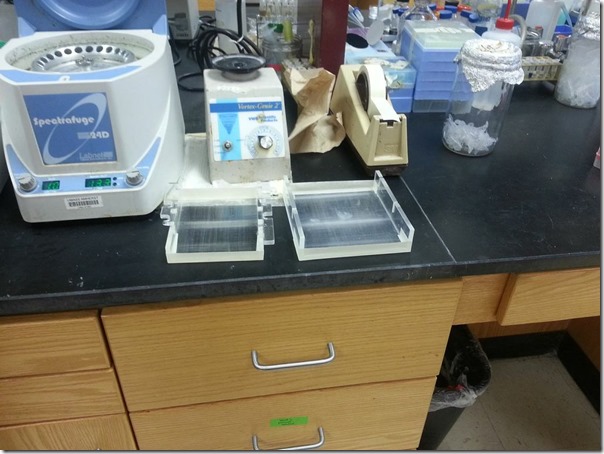
When the lab meeting ended, I started work on running gels based on the work that we did yesterday.  The first step was preparing the gels.  We used 1x TBA to set up our gels, heating the medium in the microwave and then pouring it into the gel containers to cool.  We used plastic inserts to make sure that our gels had the appropriate wells.7164

Preparing gels for gel electrophoresis

While waiting for the gels to cool, we used dye to stain the DNA in each of the containers that had come from the PCR process.  This is essential, because you want the DNA to show up so that you can view it in your gel.

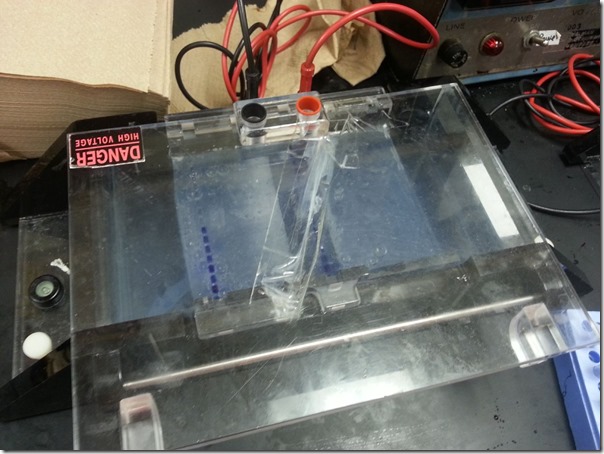
We then used a micropippette to drop a very small amount of DNA into each of the wells in the gel.  This will allow us to see which of the DNA samples is larger (moves slower through gel, will be nearest to well) and smaller (moves quicker through gel, will be further from well).  DNA is negatively charged, so you place the negative end closest to the DNA wells, and the positive end away from the wells.  It is crucial to keep all of the containers organized- so that you know which well corresponds with each sample.7161

Running a gel- notice wells (blue), negative lead (black) and positive lead (red)

While running the gels, we started preparing new samples for PCR.  We first made new labels and labeled all of the plants so that we would know which sample came from each plant leaf.  We then took these leaves off of the plants using forceps and placed them into different eppendorf tubes.

7163

Labeled plants, ready for leaf extraction

We followed the same procedure for preparing our samples for PCR that we used yesterday- the whole process takes around 3.5 hours from start to useable DNA.  In between preparing our new samples for PCR, we analyzed our earlier gels.